
agileCCPM Schedule View
1. Understanding agileCCPM Schedule View
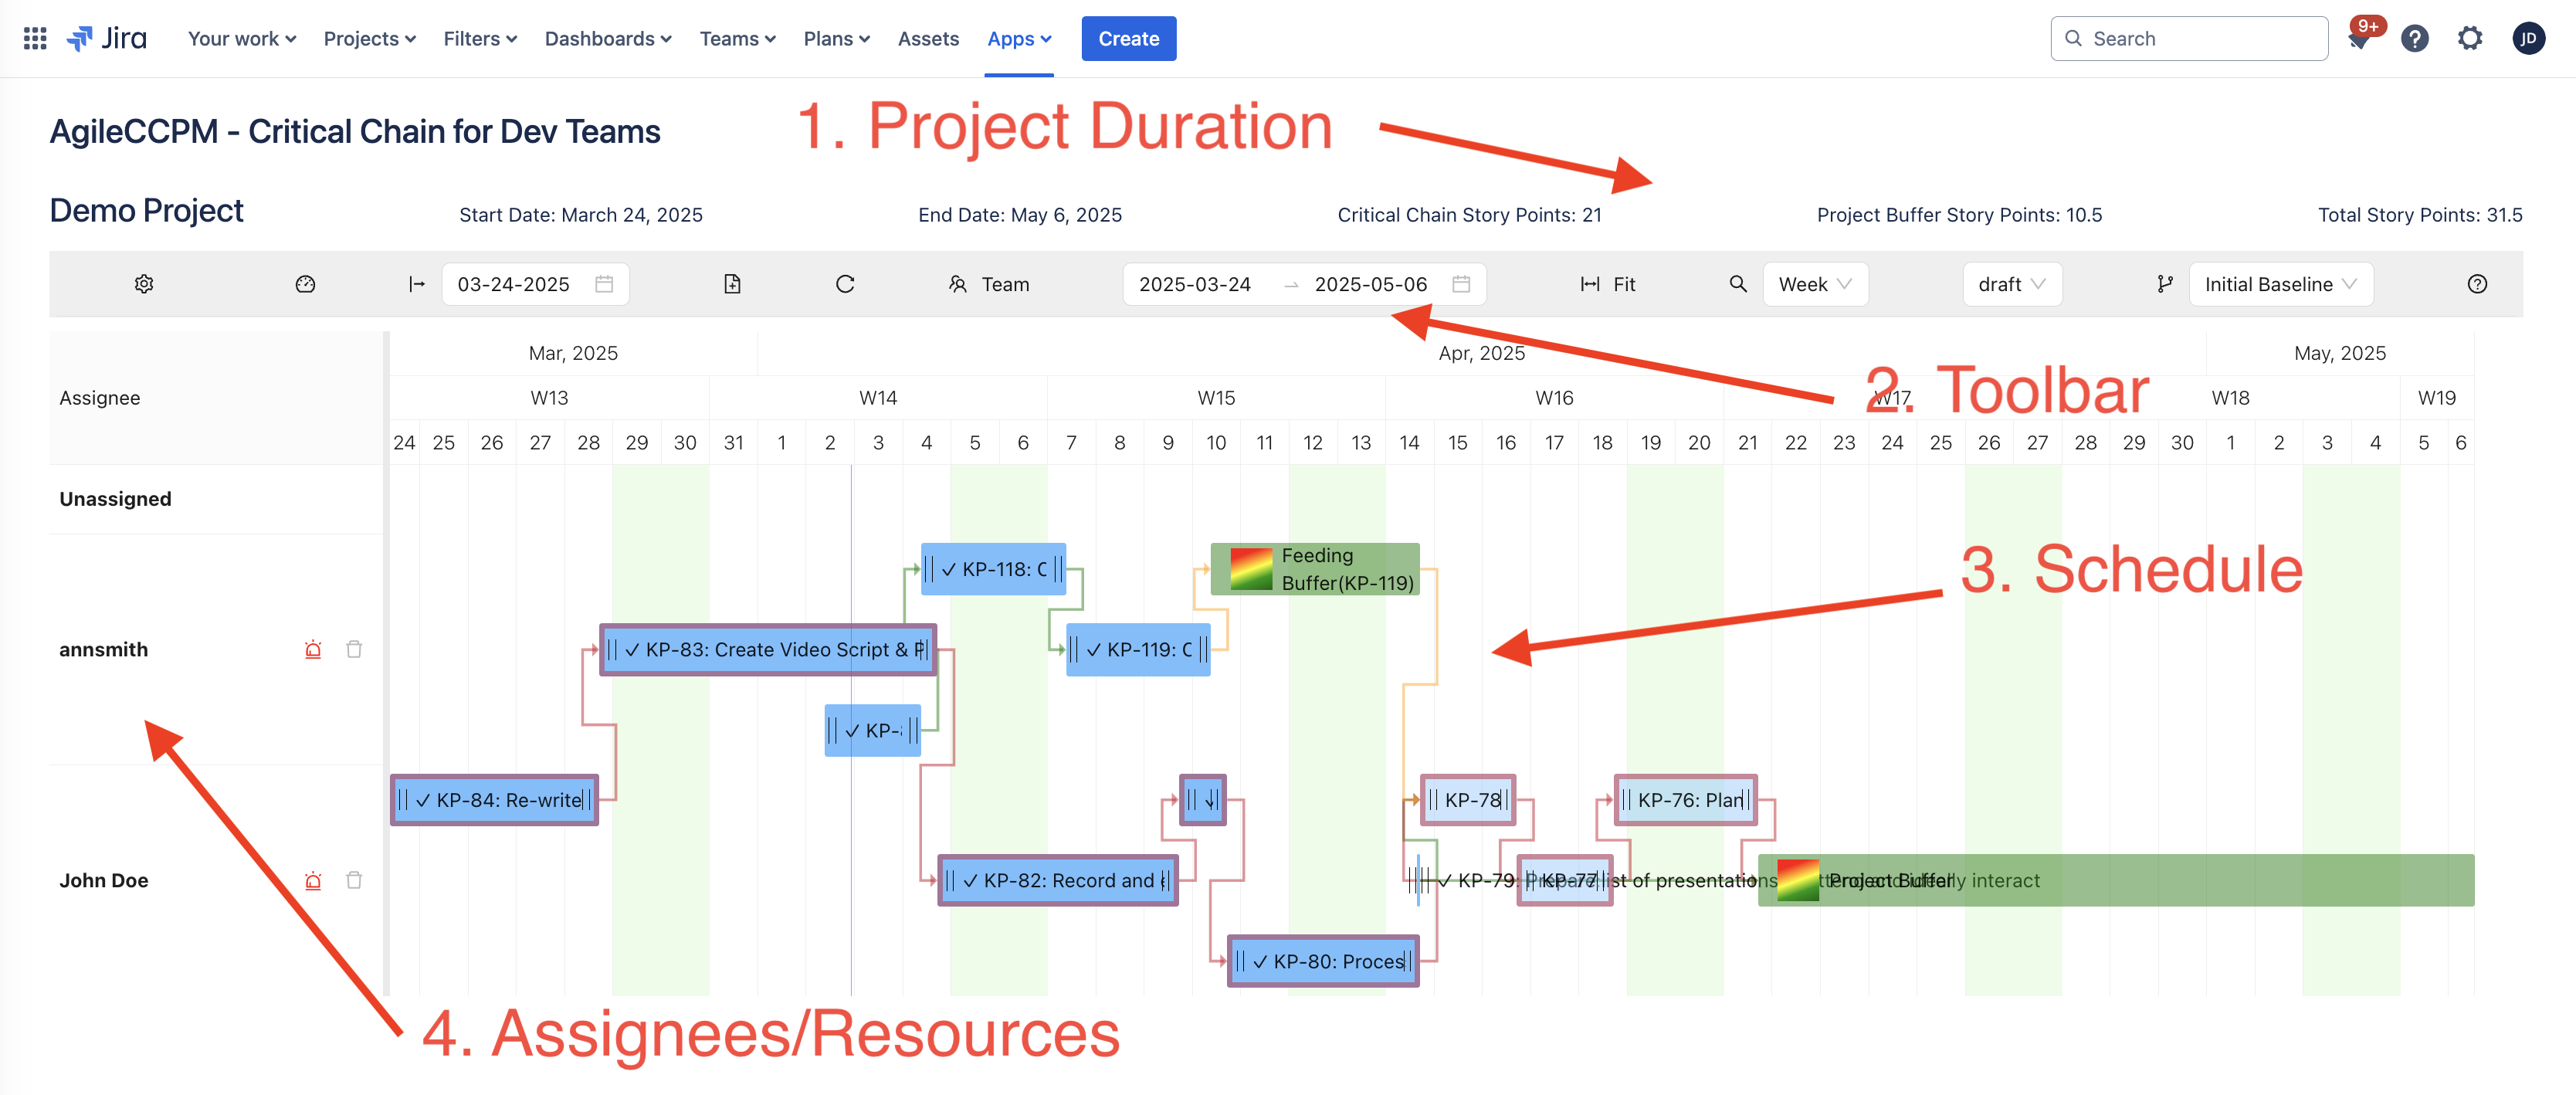
Our Schedule / Timeline view provides a natural and intuitive view of your Critical Chain project's schedule, its Critical Chain, Feeding Paths, what resources are assigned to which task, what is the sequence of the tasks, protecting buffers, etc. The view is more natural than Gantt Charts, PERT Diagrams, and regular Timelines.
The view contains 3 main parts:
- Project Name and major duration and dates information
- Toolbar
- Schedule
- Resources/Assignees
2. Schedule Area
Mouse & Touchpad Controls in the Schedule Area
We support the following capabilities:
Touchpad and Mouse Zooming
Use your touchpad or Cmd (Mac) / Control (PC) + Mouse Wheel for zooming.
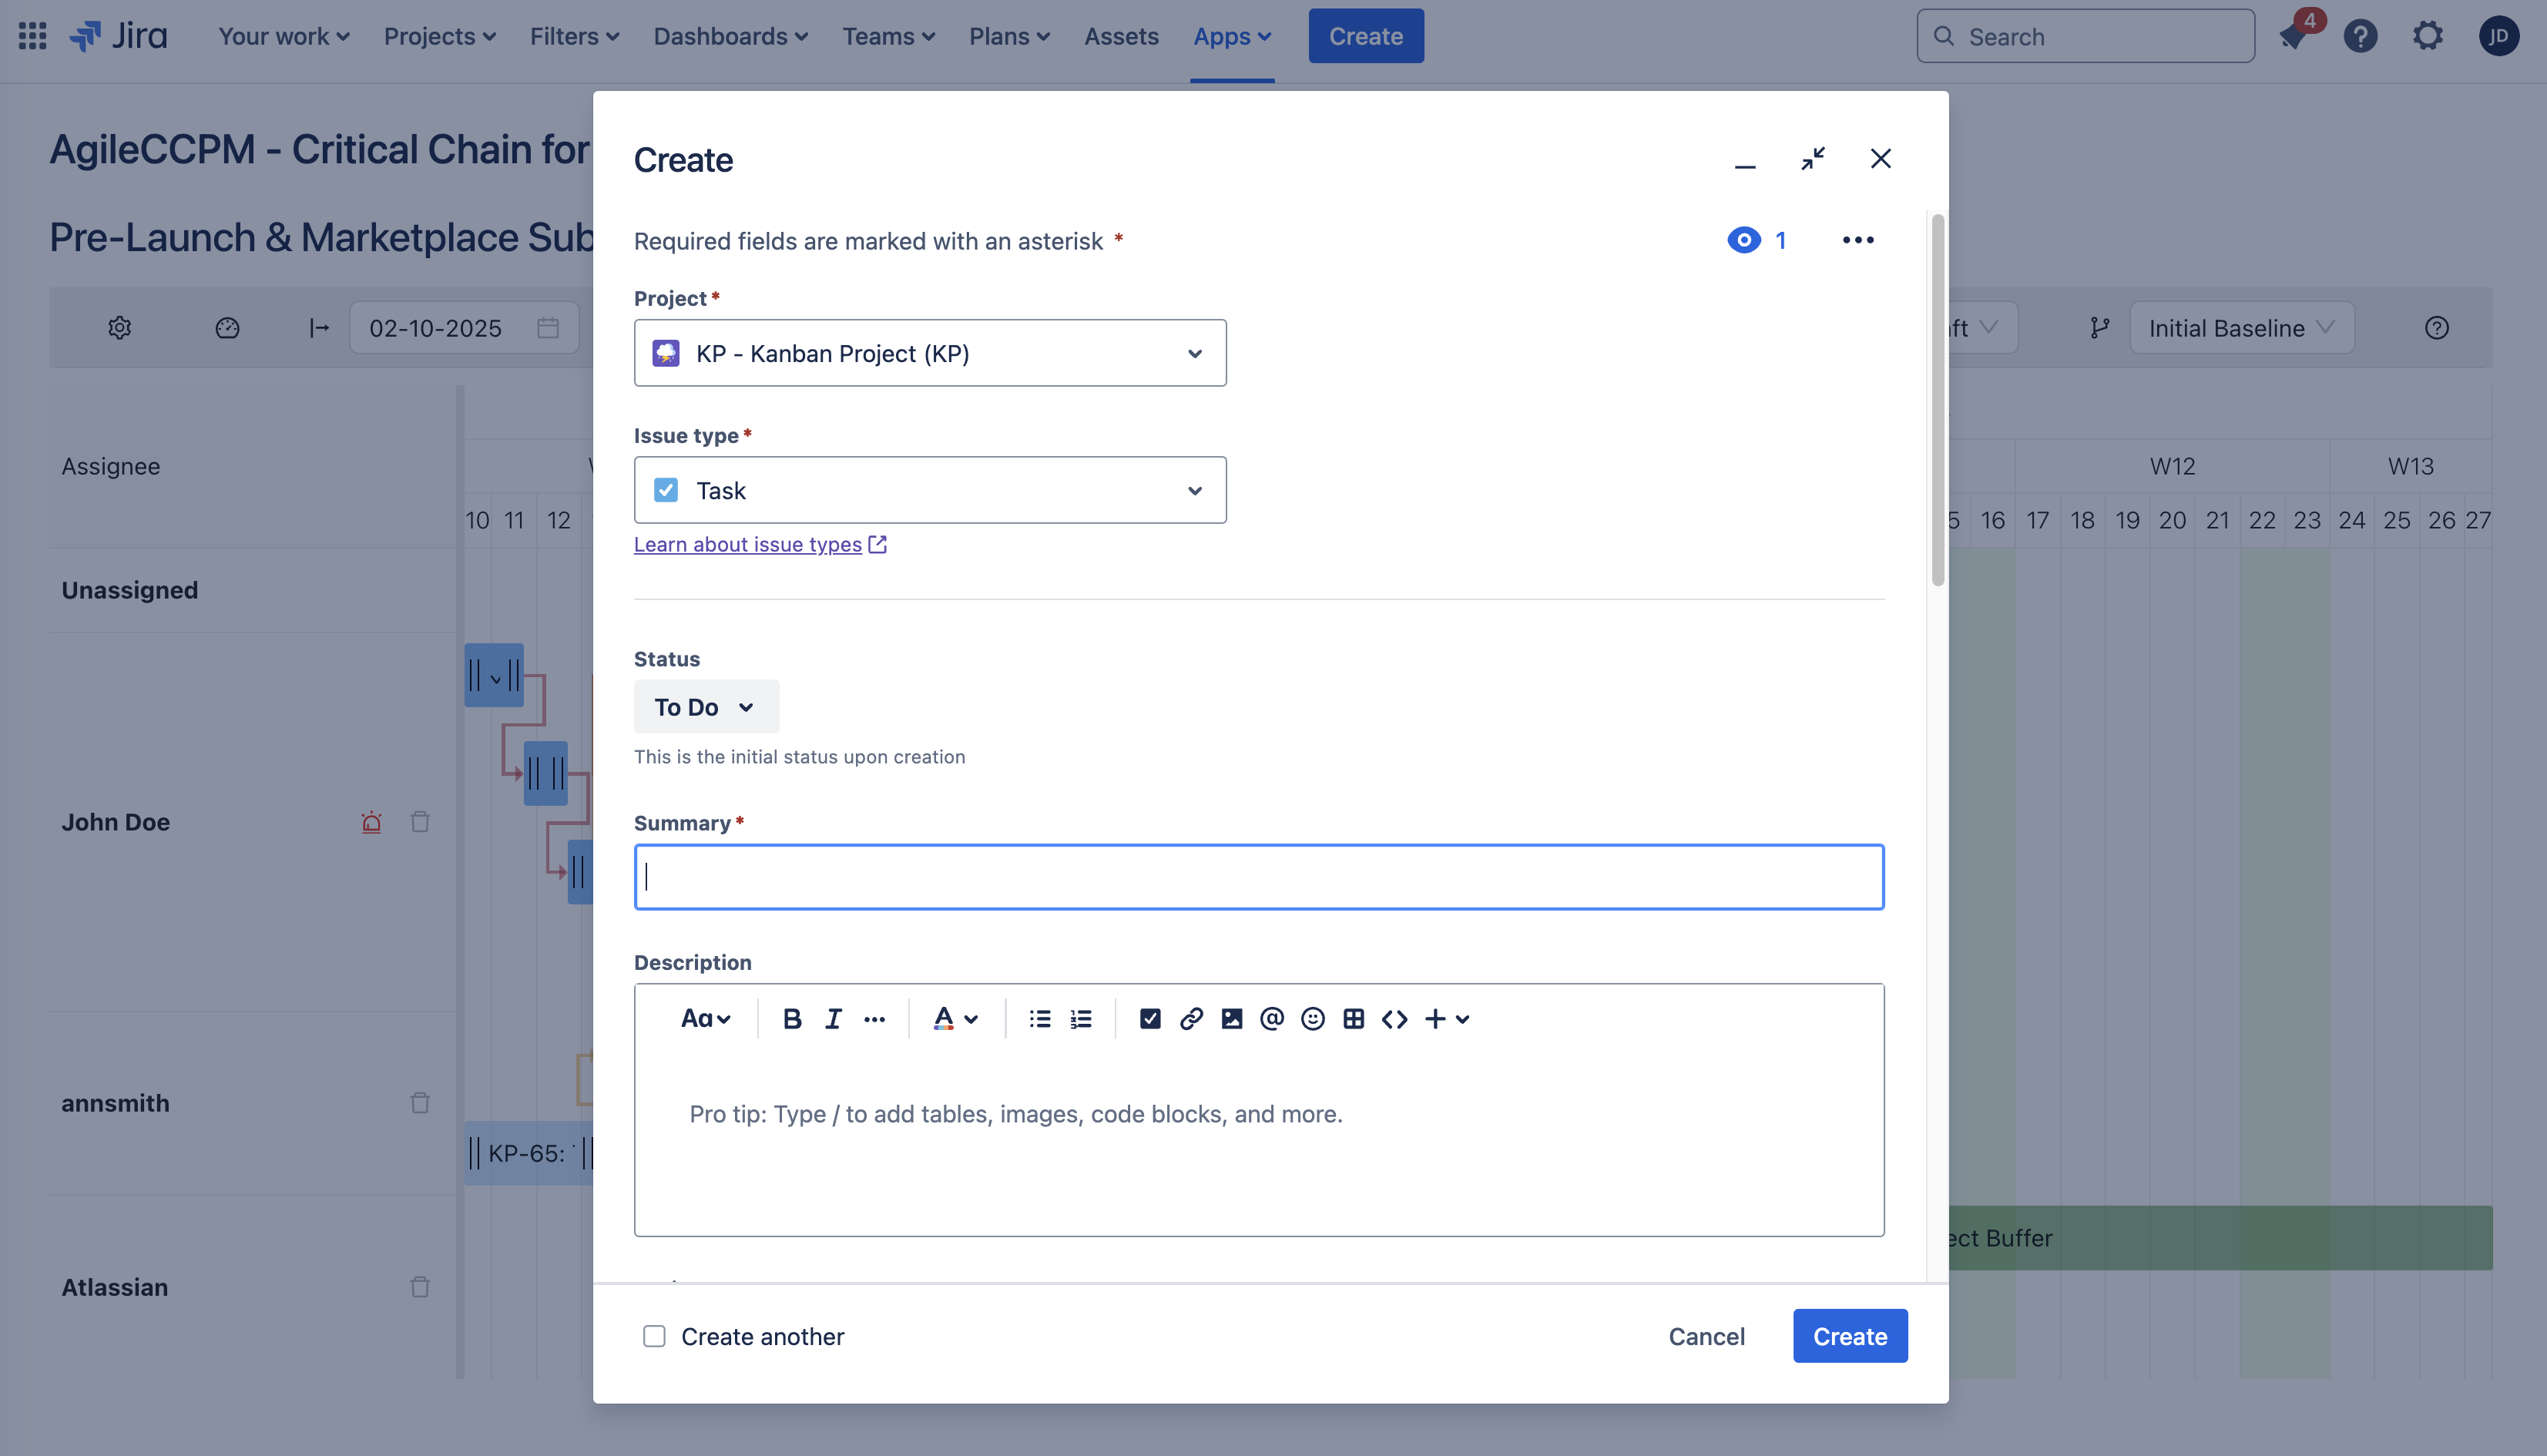
Dragging to Create an Issue
Drag on the resource lane you want to create a new issue for roughly for the duration of the task and we will open up the Jira Create Issue modal pre-filled with the details to help you quickly create a new issue.
Dragging to Change Issue Duration
Click on the start or end of an issue and drag sideways to modify the issue duration.
Dragging to Change Assignees
Drag an issue to a new assignee lane to re-assign it and re-schedule accordingly. All the Feeding and Project Buffers are rebuilt as needed.
Linking Issues
Click on an issue to see attachment points show up. Then click on an attachment and drag it to a new issue to create a link.
Click on an issue to see a popup you can use to delete an issue.
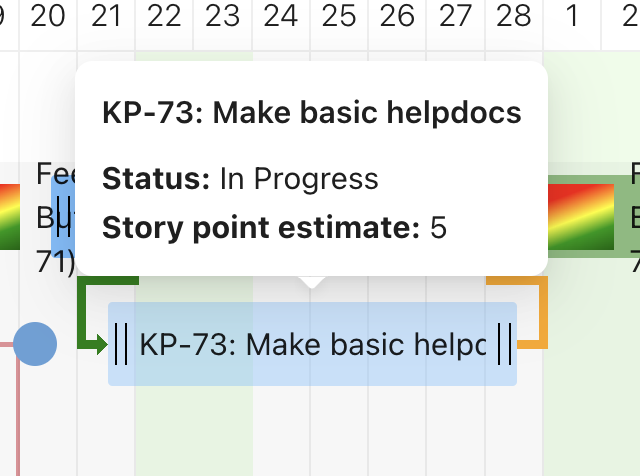
Hovering
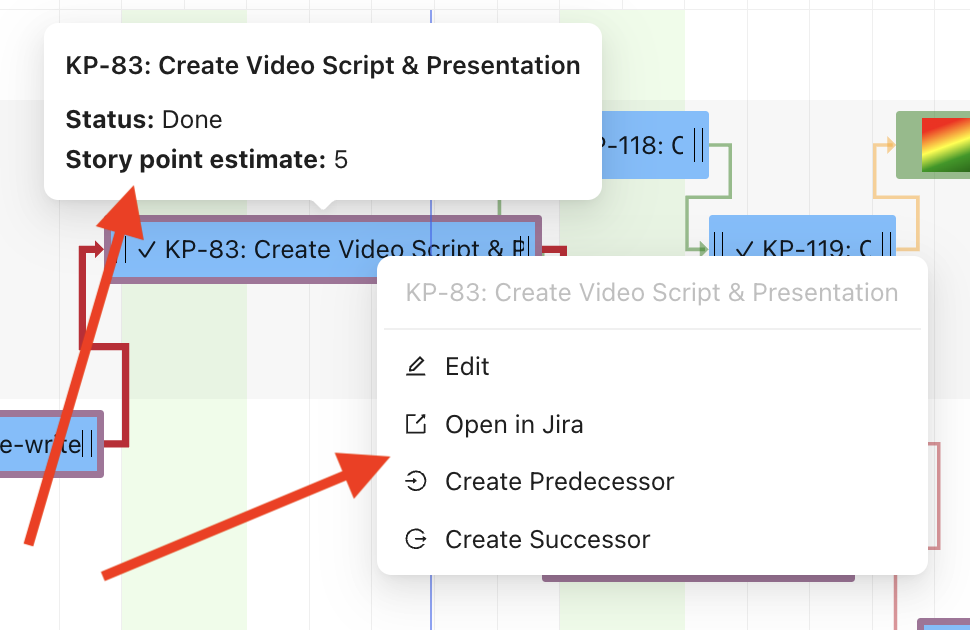
Hover over an issue to see its dependencies/links and a popup with additional information.
Hover over a link to see which issues it connects.
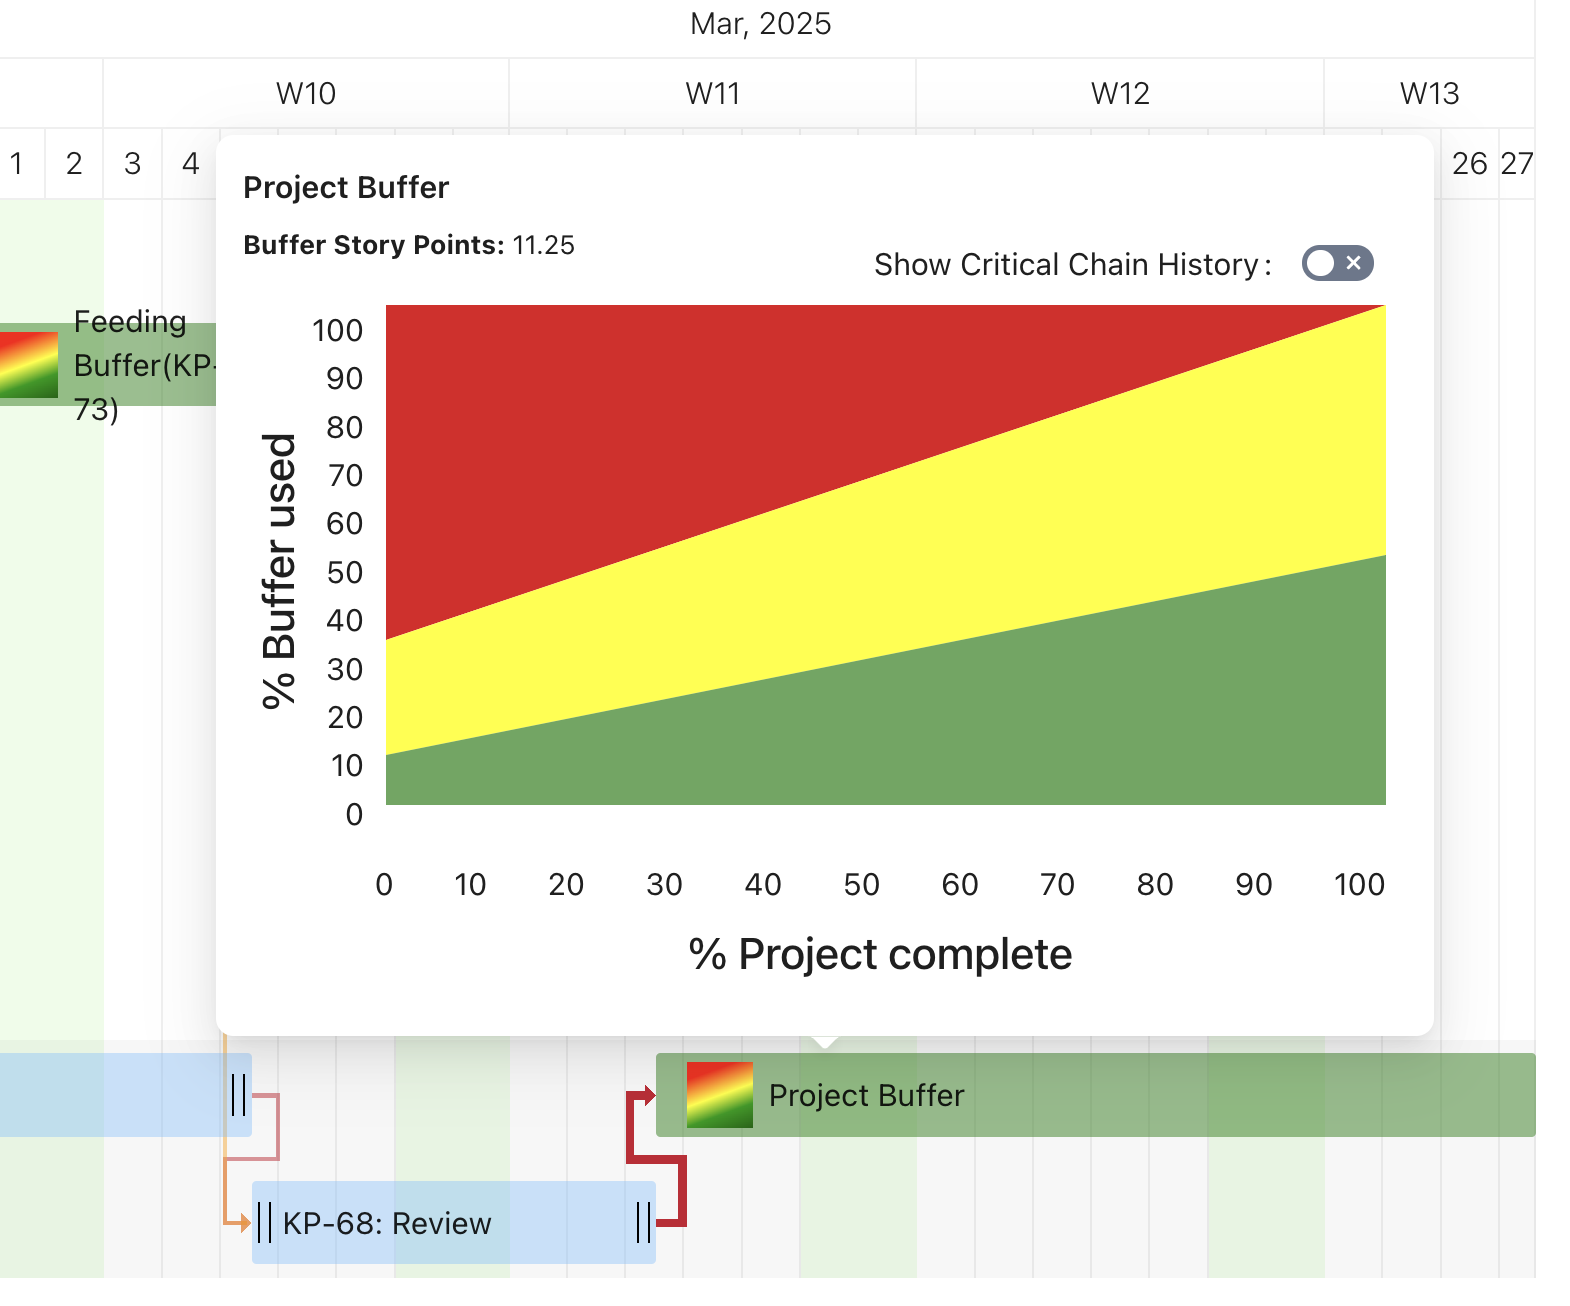
Hover over a Buffer task to see a popup with Buffer information, and if the project is in progress, with Buffer Penetration and Project/Task % complete.
Double Clicks
Double-click to open a Modal to edit essential properties of the issue without leaving agileCCPM.
Right Clicks
You can also Right-click an issue to open a menu with options to edit an issue in agileCCPM or Jira and with options to create a Predecessor or Successor work item.
3. Resources/Assignees
We automatically detect Jira assignees and add them to the Resources/Assignees area of the Schedule view.
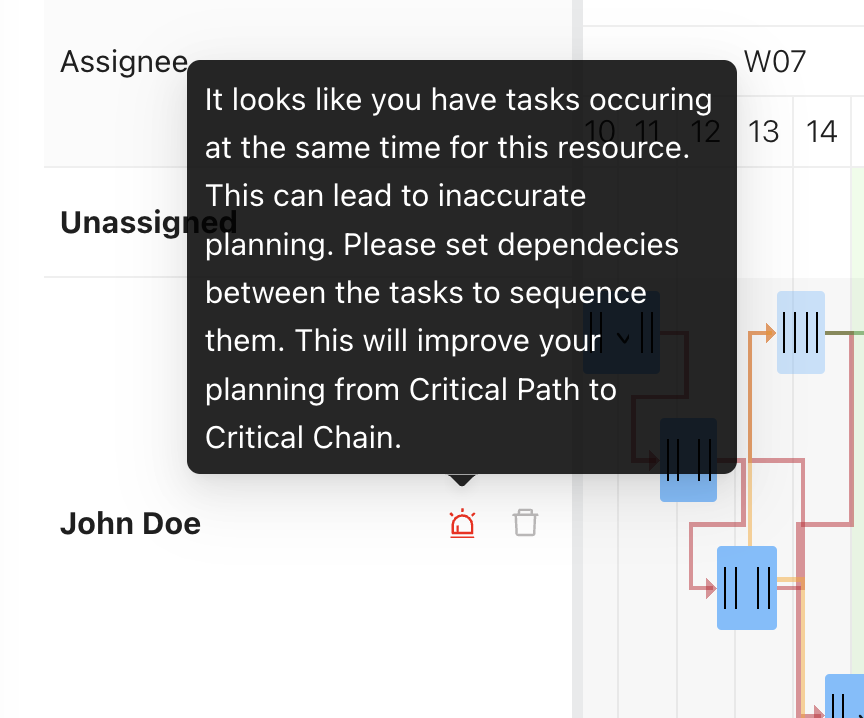
We also have Unassigned resources always available for tasks that currently do not have anyone assigned.
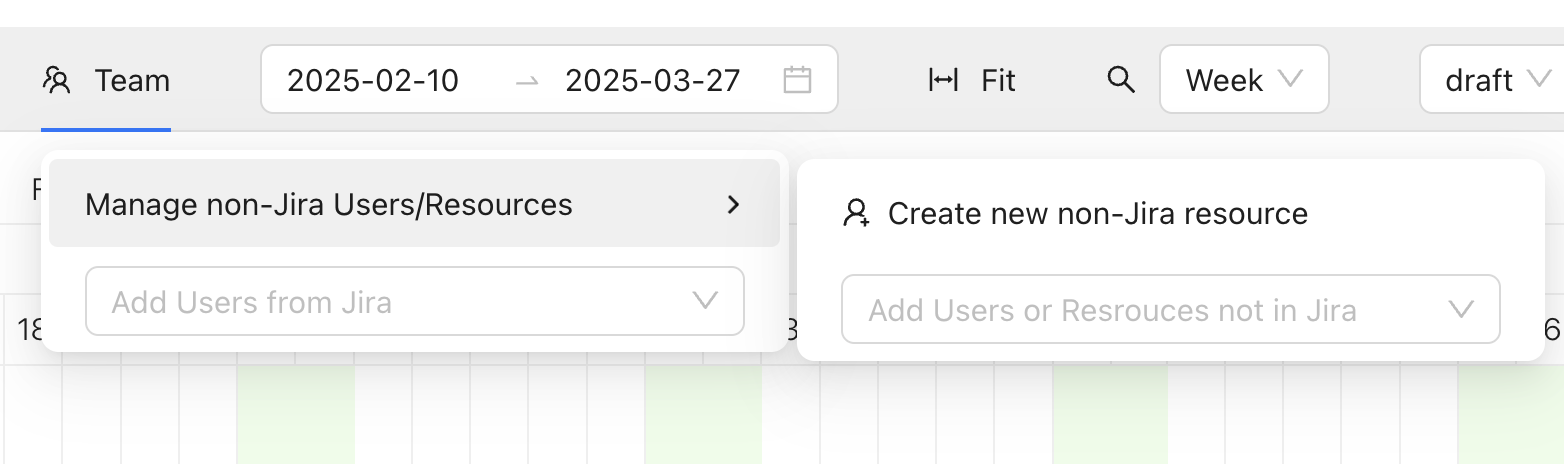
If you want to add additional resources, you can either add Jira assignees, or you can create and add Non-Jira assignees, like vendors, partners, contractors, etc. which are also part of your schedule and you need to plan and monitor their progress, but Jira does not provide that capability naturally.
The Resources area also allows you to delete an assignee without any assignments from the graph.
We also can show warnings, e.g. when your Critical Chain project did not take into account resource multi-tasking (you have multiple tasks assigned to a resource at the same time). When this happens your project is not correctly planned. And this is one of the differences Critical Chain has compared to Critical Path - you need not only to set logical dependencies, but also need to make sure assignees do not multi-task. We help you detect such situations.
4. Toolbar
The toolbar has some duplication of functionality discussed above, but it also provides additional capabilities. If you hover over respective areas of the toolbar, you will get hints on what each icon or button does.

Let us quickly explore each icon now:
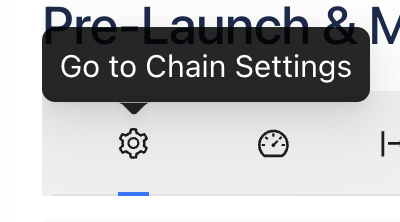
1) Go to Chain Settings
Navigates to the settings of your Critical Chain project, like issues source, etc.
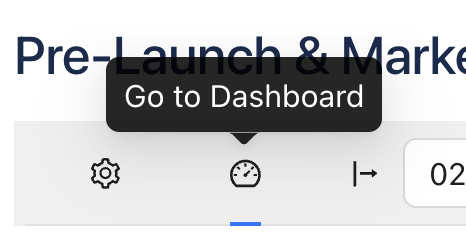
2) Go to Dashboard
Navigates to the Dashboard with the list of projects, Fever Chart with their statuses, and the ability to create new Critical Chain projects.
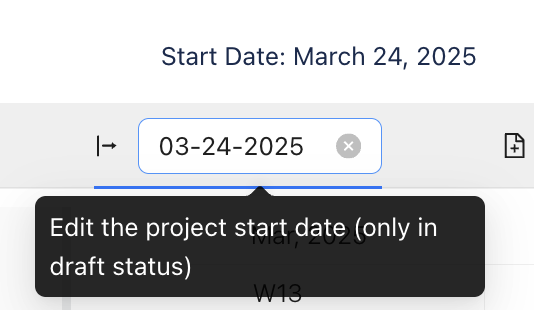
3) Edit Start Date
Allows you to edit the start date if the project is in draft state.
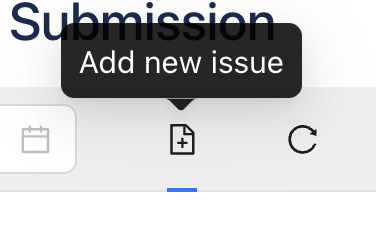
4) Create New Issue in Jira
Opens up the Jira Create Issue modal.
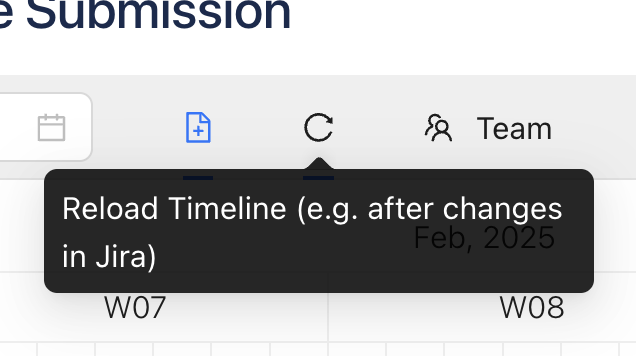
5) Reload Issues from Jira
Fetch new issues or changes from Jira. E.g. if you know that some issues have been created or modified outside of our app.
6) Manage Jira and Non-Jira Project Team
Allows you to add new assignees/resources to your Critical Chain Project.
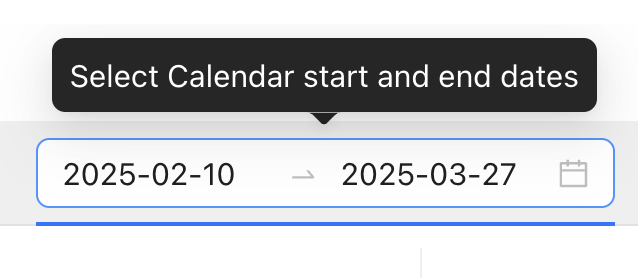
7) Set Calendar Range
While using a mouse or touchpad could be more convenient to dial the exact visibility you need, you also can set the visible range using this menu area.
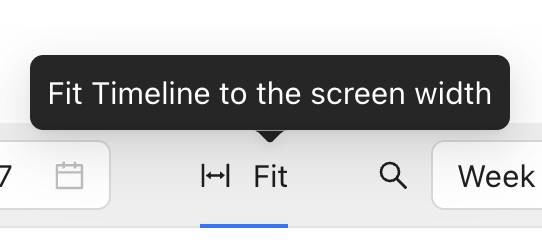
8) Fit to Width
Fits all tasks to your current screen width.
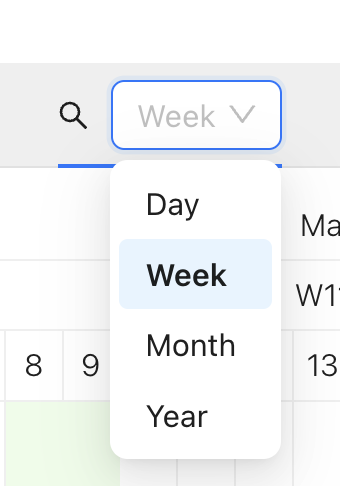
9) Zoom Level
Switch between Day, Week, Month, and Year zoom levels for your project.
10) Project Status
Once your project is planned, you can move it to "in progress" here. Or to "done" once your project is finished.

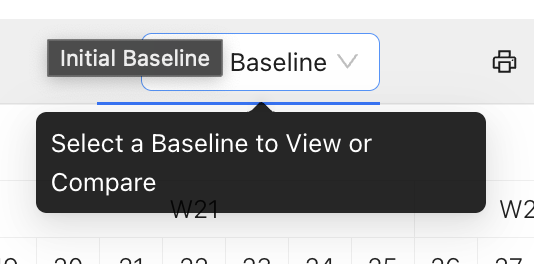
11) Selected Baseline
Once your project is 'in progress', when we detect changes we will offer you the possibility to create a new baseline. If you use this functionality you will be later able to see the difference between the original plan and a selected baseline.
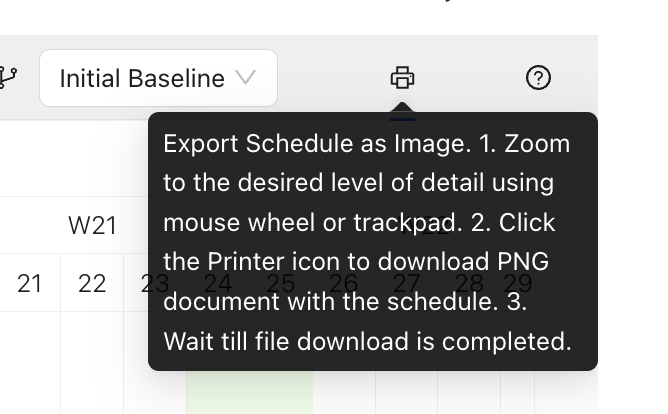
12) Save Project as PNG Image
You might want to save your CCPM project schedule as a PNG image for various reasons, e.g. sharing with customers or people who are not using Jira, printing in a big format to hang on a wall, saving as another form of baseline, etc.
To easily get your whole project schedule as an image, first scroll to the needed level of detail by either using your trackpad or Cmd (Mac) / Control (PC) + Mouse Wheel. After that click the printer icon and wait till the file with the full view of our CCPM Schedule is downloaded.
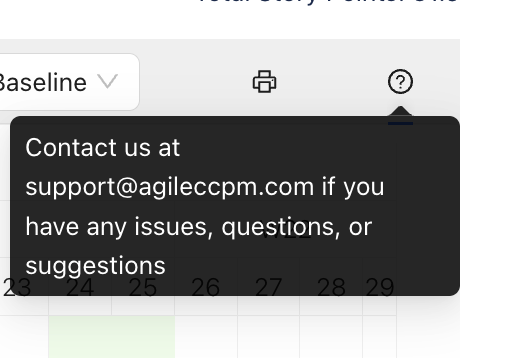
13) Contact Us
Shows contact information you can use if you need to contact us.
Learn how to schedule your Agile Critical Chain Project