
Scheduling Your Critical Chain Project
If you are new to Critical Chain Project Management, you might benefit from our article on this powerful approach.
1. Automatic Issues Import and Scheduling
When you create a new agileCCPM Critical Chain project, we automatically import the issues from your Jira Epic or Project, including issue properties and links, and create a Critical Chain Project Schedule with Project Buffer and Feeding Buffers for Feeding Chains (if there are any).
This allows you to get your Critical Chain project schedule in under a minute.
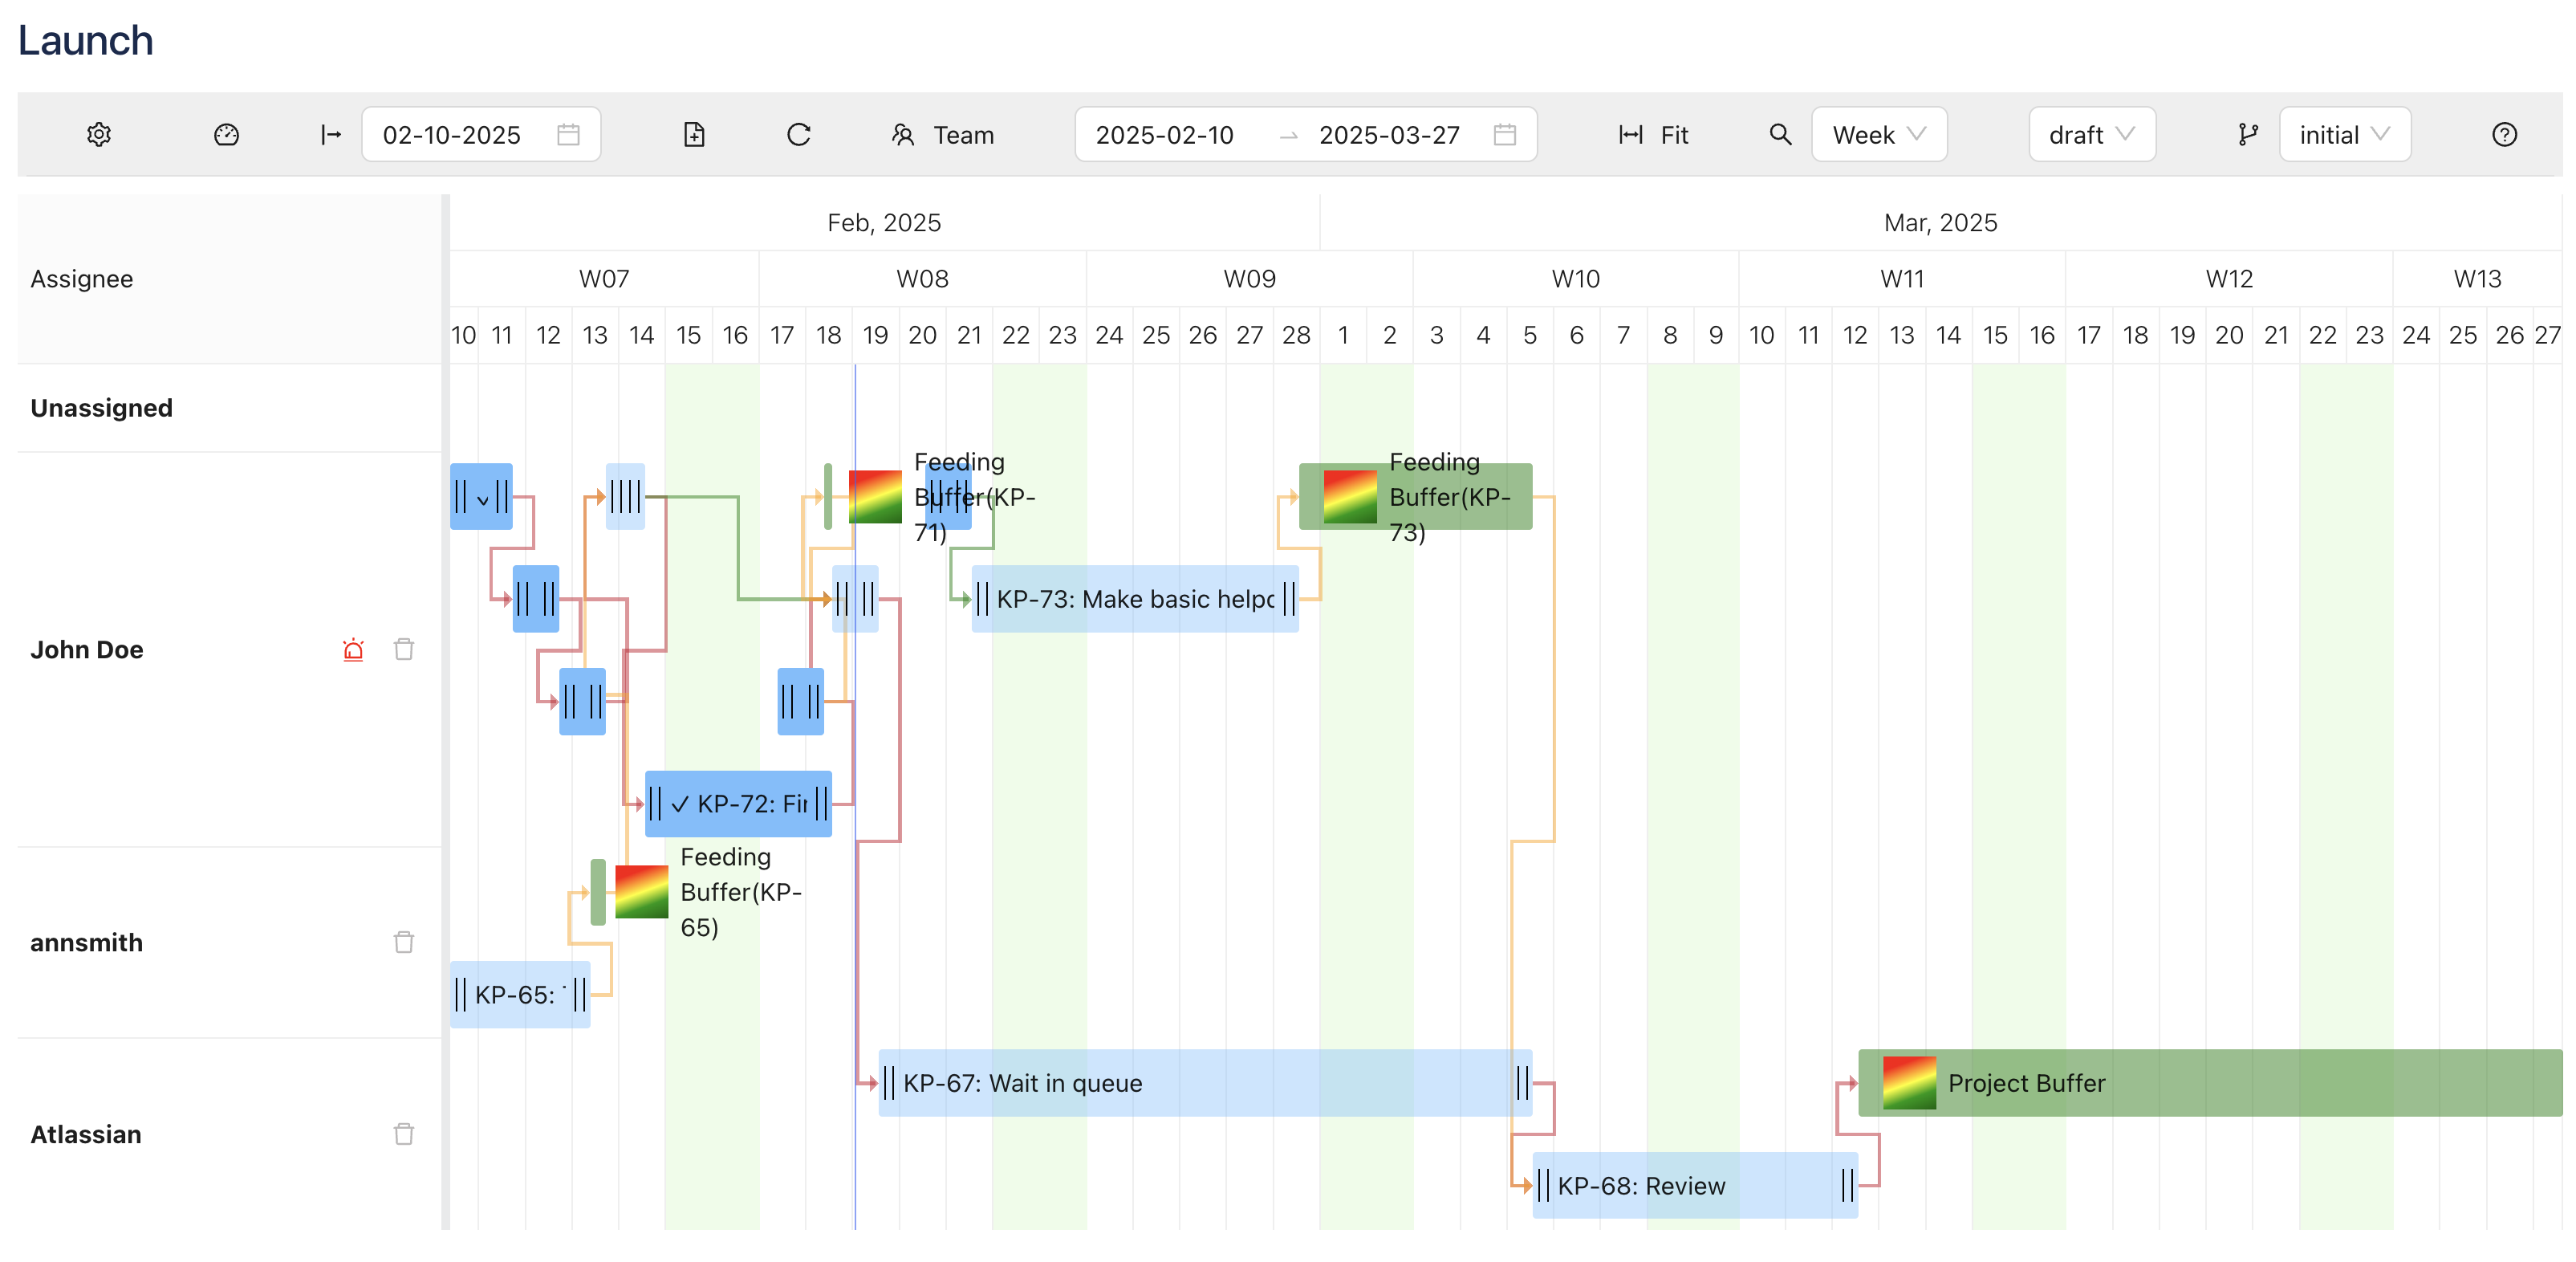
If your Epic or Project had issues with 'blocks' and 'is blocked by' links, your starting project might look something like this once you get to our Schedule view:
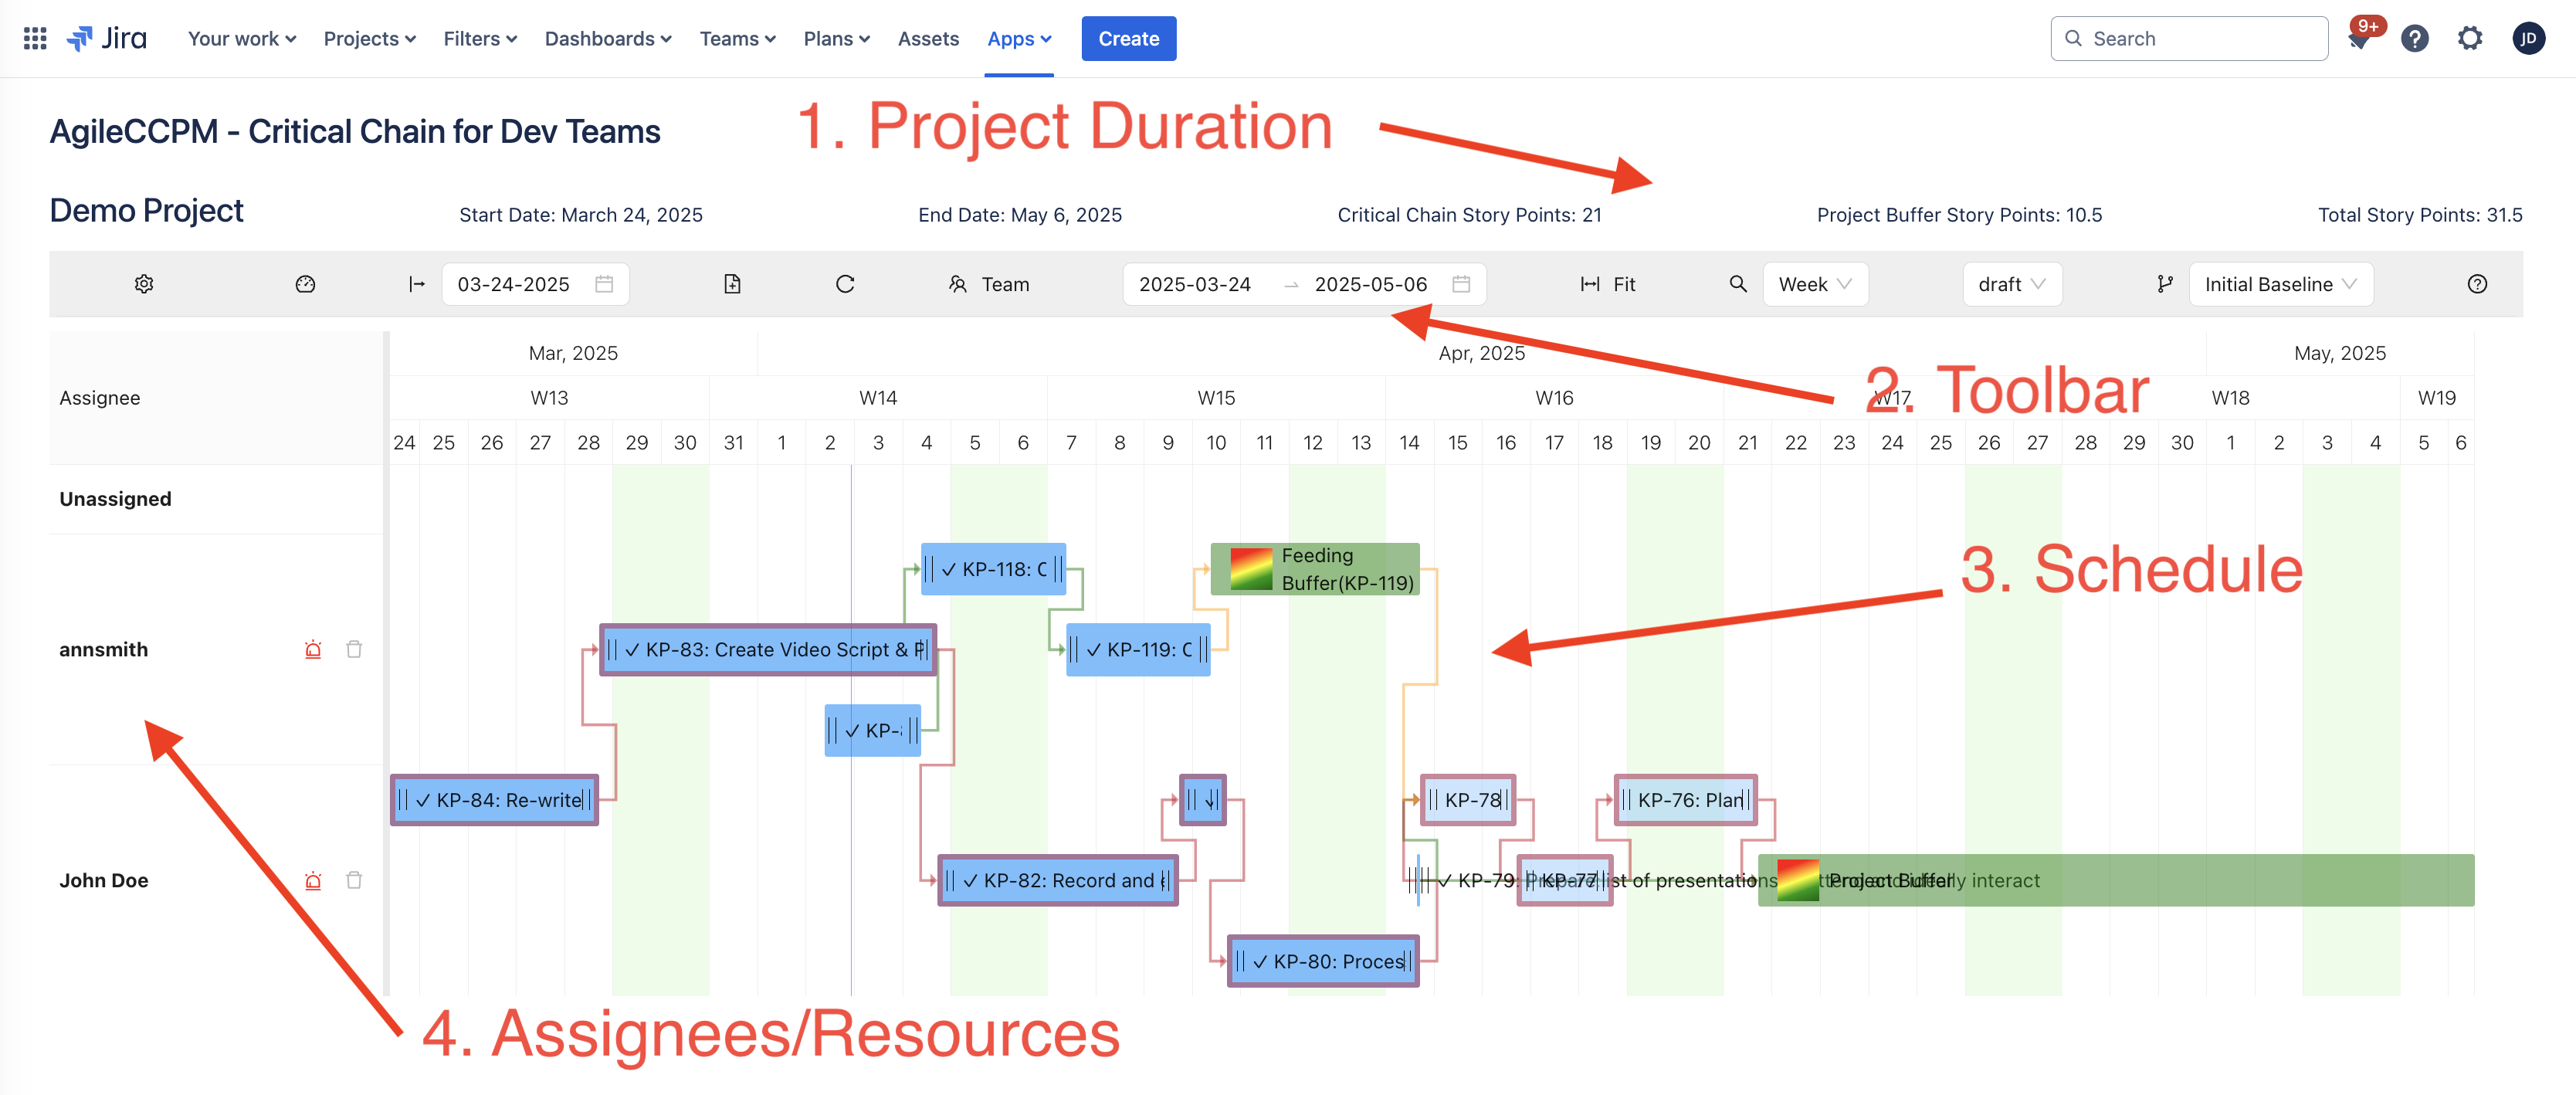
In Critical Chain Methodology and in our agileCCPM app, you do not set individual start and finish dates for each task or buffer. The end of one task determines the start of another. Do not try to get your tasks to start or finish on specific dates, just sequence them correctly and add the Story Point estimates, and our app does the rest for you.
2. Adding More Issues
If you need more issues/tasks added to your project, you can easily do it without leaving agileCCPM.
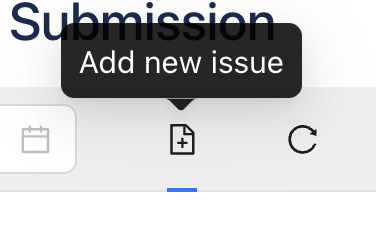
You can either create one by clicking the Add New Issue button from the toolbar:
or do it by dragging, which we recommend, since in this case we pre-fill the Assignee and Story Points fields for you.
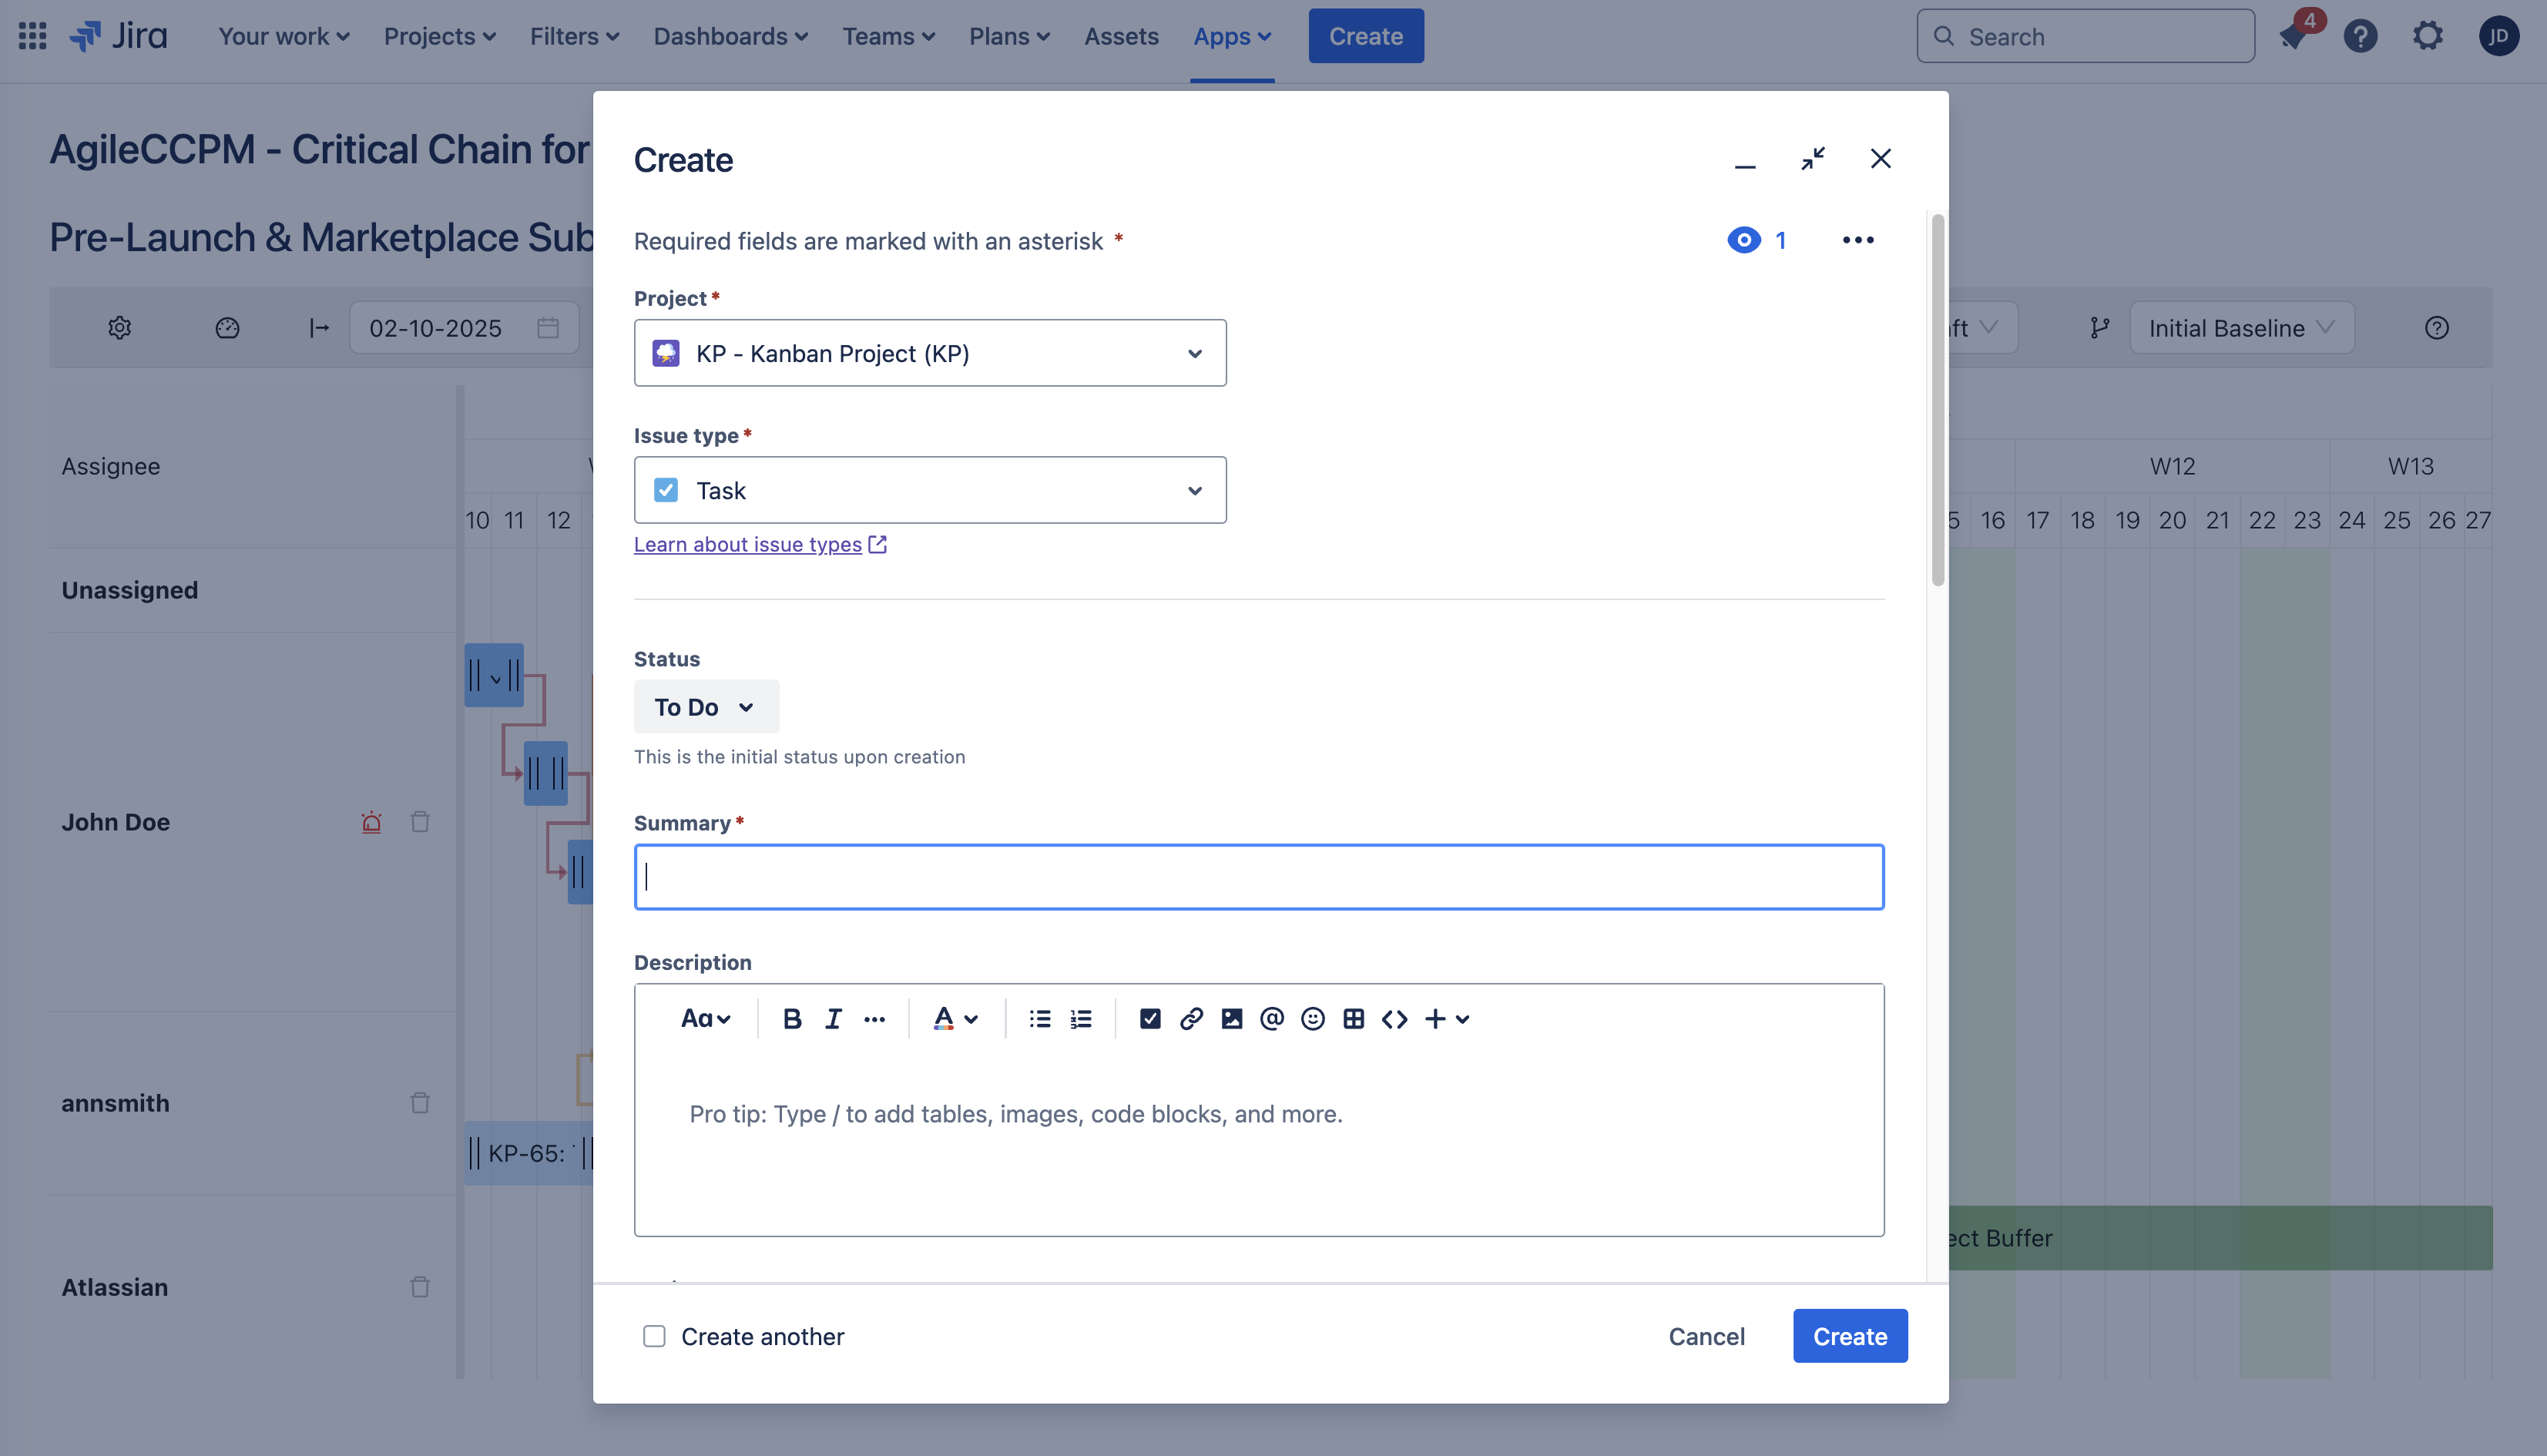
Both dragging and clicking the Toolbar Add Issue button will open the Jira Create Issue modal:
It is typically better not to have more than 100 issues/tasks in your projects, since it means that some of your issues are less than 1% of the overall project duration and you are likely going to micro-manage your project. If your project is very big, you might benefit more by splitting it into several related Epics or even Projects.
If you have very big tasks, e.g. more than 20% of overall project duration, you might not be that well protected from uncertainty by the buffers.
3. Defining Logical Dependencies
We only use Jira's blocks and is blocked by links for sequencing tasks. If you had links defined in Jira, we will use that information.
We use color-coding for issues:
- Green - for normal tasks
- Orange - for Feeding Chains
- Red - for the Critical Chain
If you need more, simply click on a task, and use attachment points to connect issues.
If you want to delete a dependency, just click on a link and we will open a confirmation modal with details of the link you want to delete.
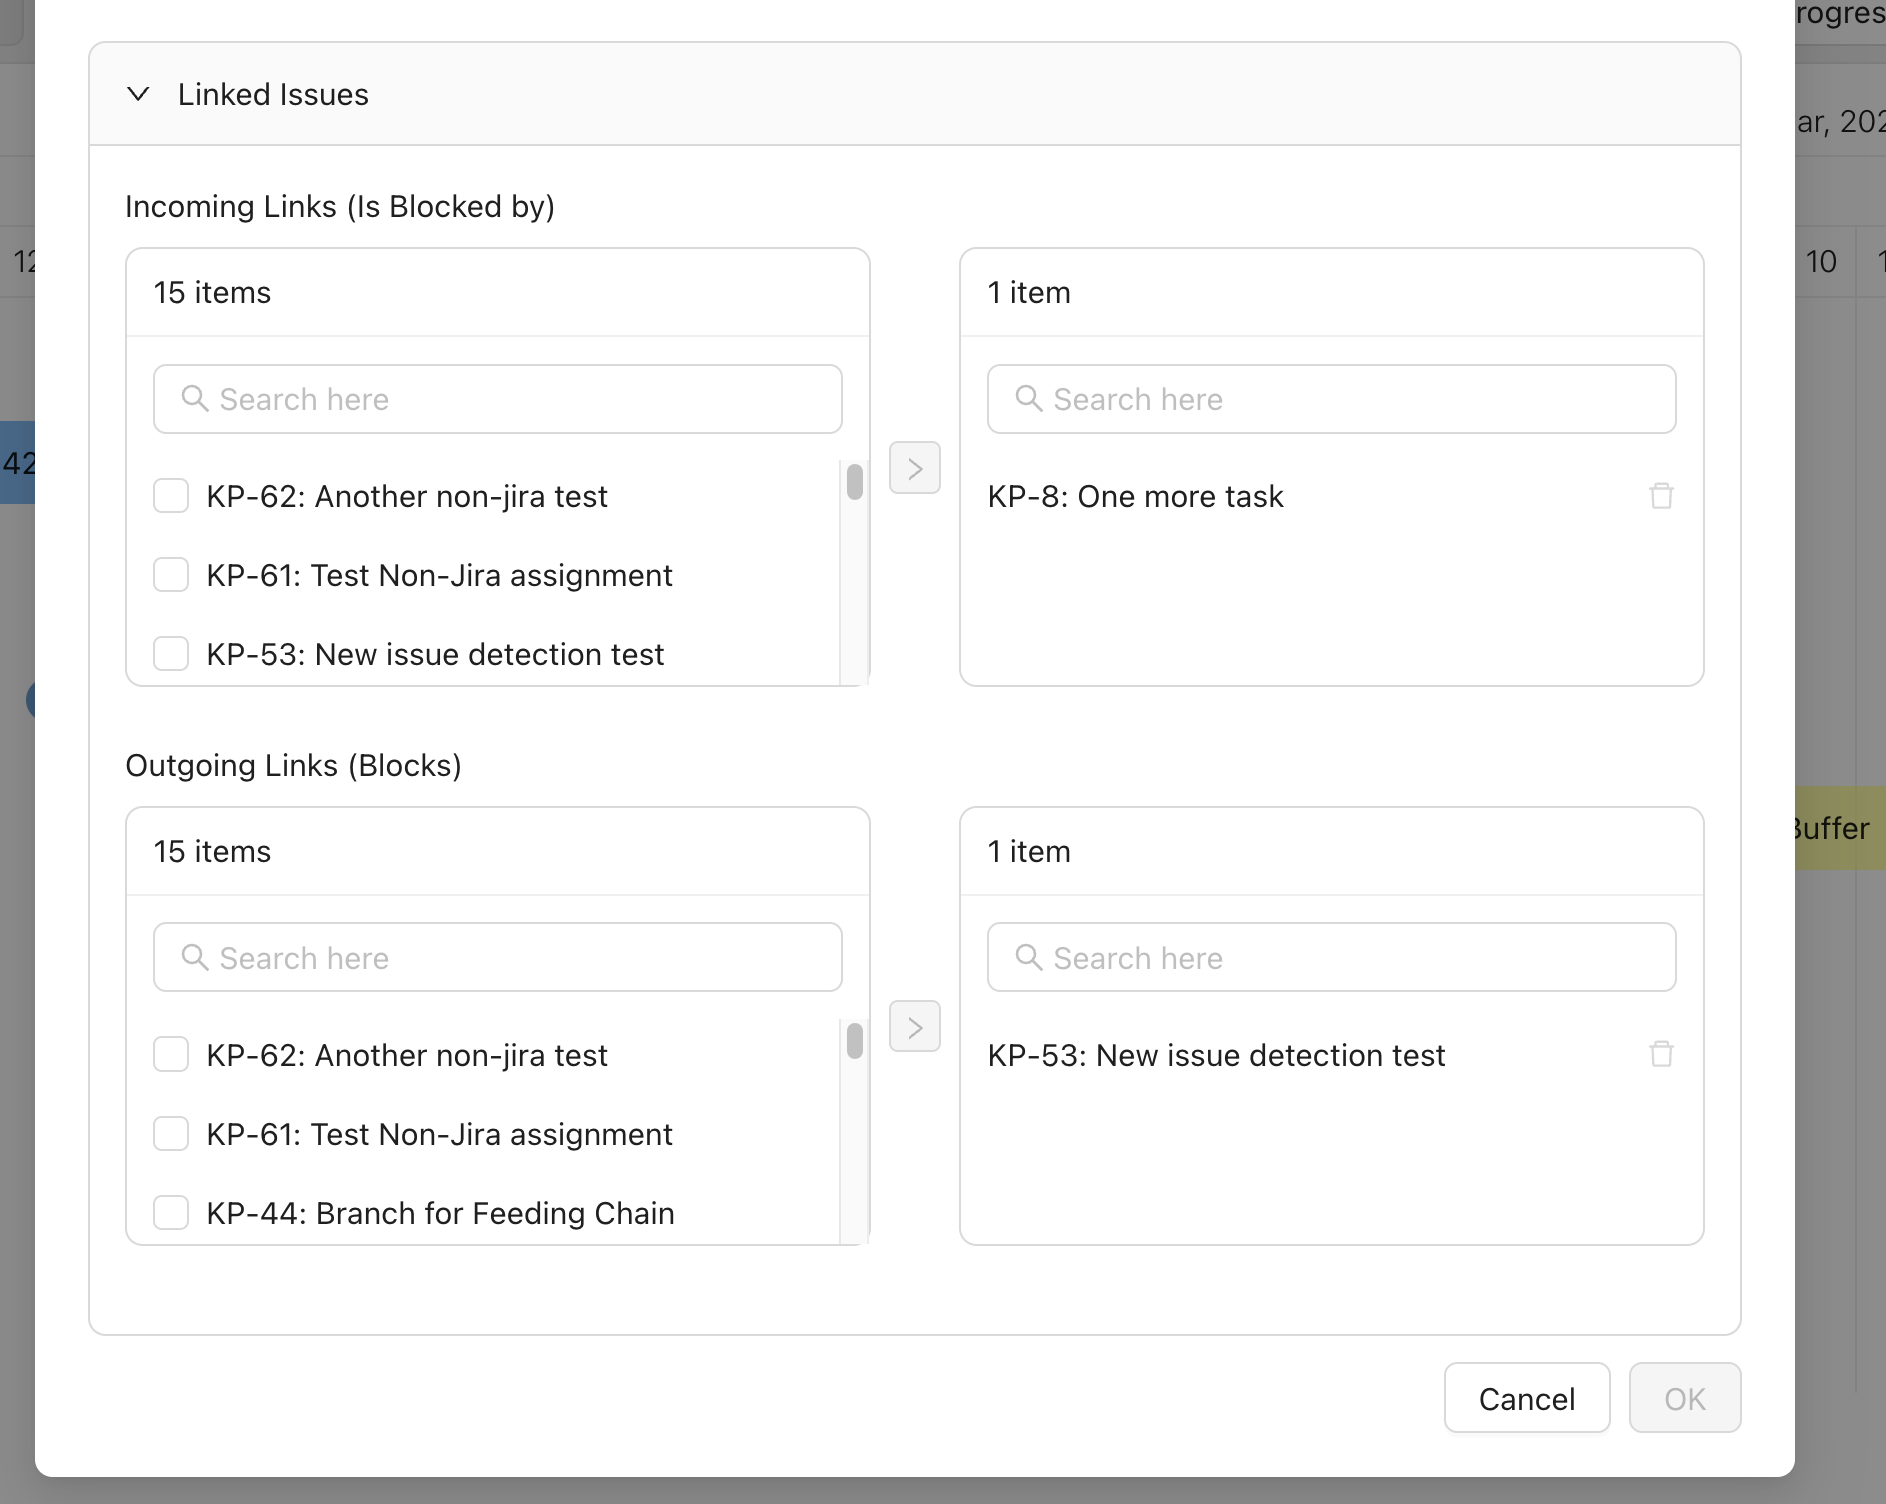
Another way to manage dependencies that might be more convenient in some cases is to open the Edit Issue modal by either double-clicking an task or right-clicking it and selecting the Edit option. This modal will give you an a different view and editing capability for the links:
When you hover over a task, we highlight dependencies of that task, making it easier for you when the project gets more complex.
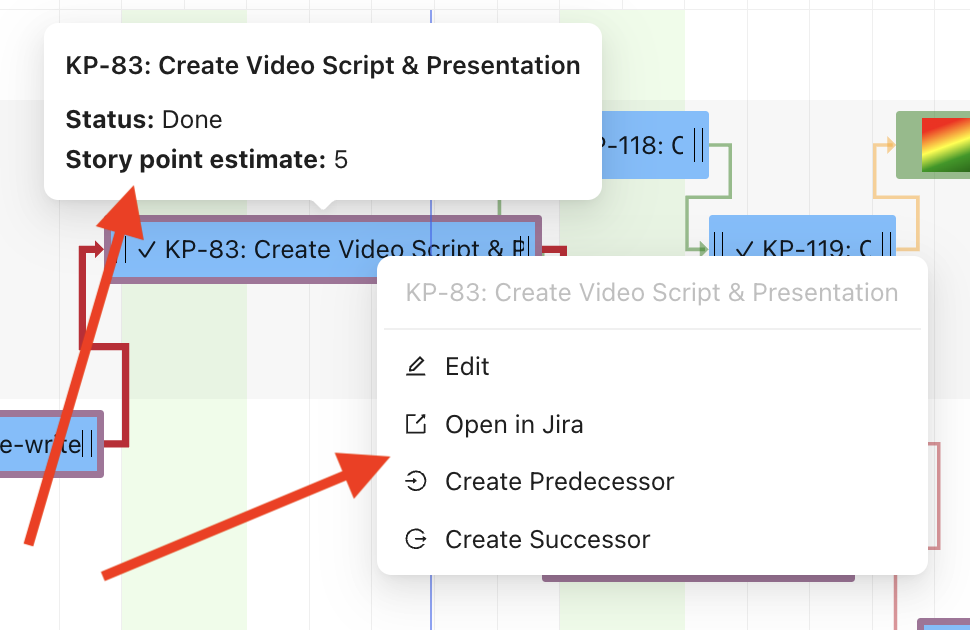
You can also create Predecessor and Successor work items by right-clicking a task you want to add a link task to.
4. Assigning Issues
We provide you with multiple options to assign tasks. You could change the assignee in Jira, use our Edit Issue Modal, or just use dragging, which is the easiest option:
5. Adding Additional Assignees or Resources
agileCCPM projects have lanes for each assignee plus the default Unassigned row.
You can add new resources by either assigning a different person to an issue, or adding new resources via the Toolbar's Team menu.
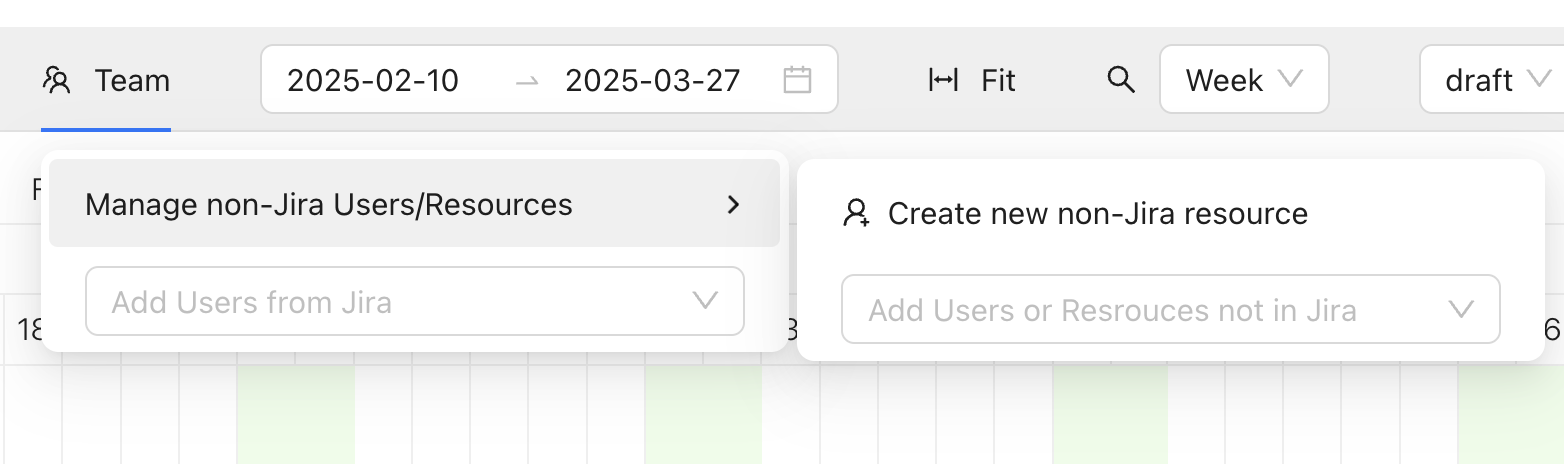
Real-life projects often require you to plan for activities that are performed by your partners, contractors, and other categories of resources that typically are not users in your Jira. With agileCCPM you can do this.
For example, you can see how we planned Atlassian Marketplace review for our project:
6. Sequencing an Assignee's Tasks to Avoid Multi-Tasking
When you have all your tasks added and logical dependencies defined, you might think you are done.
This might not be the case.
What you have now is still only a Critical Path project, even though our solution added Feeding and Project Buffers to protect both the Critical Path and the delivery date.
The problem you might still have is multi-tasking. If there are no logical dependencies between tasks and they are assigned to the same resource, you will see multiple tasks assigned on the same dates.
Not only does this make your project end date inaccurate, but multi-tasking requires context shifting and typically results in a longer overall duration than working on the tasks sequentially.
If the lane of an assignee is tall, you likely have a multi-tasking problem and need to sequence the tasks for such resources to get from Critical Path to Critical Chain.
We help you by drawing your attention to these lanes with a red bulb indicator and a hint.
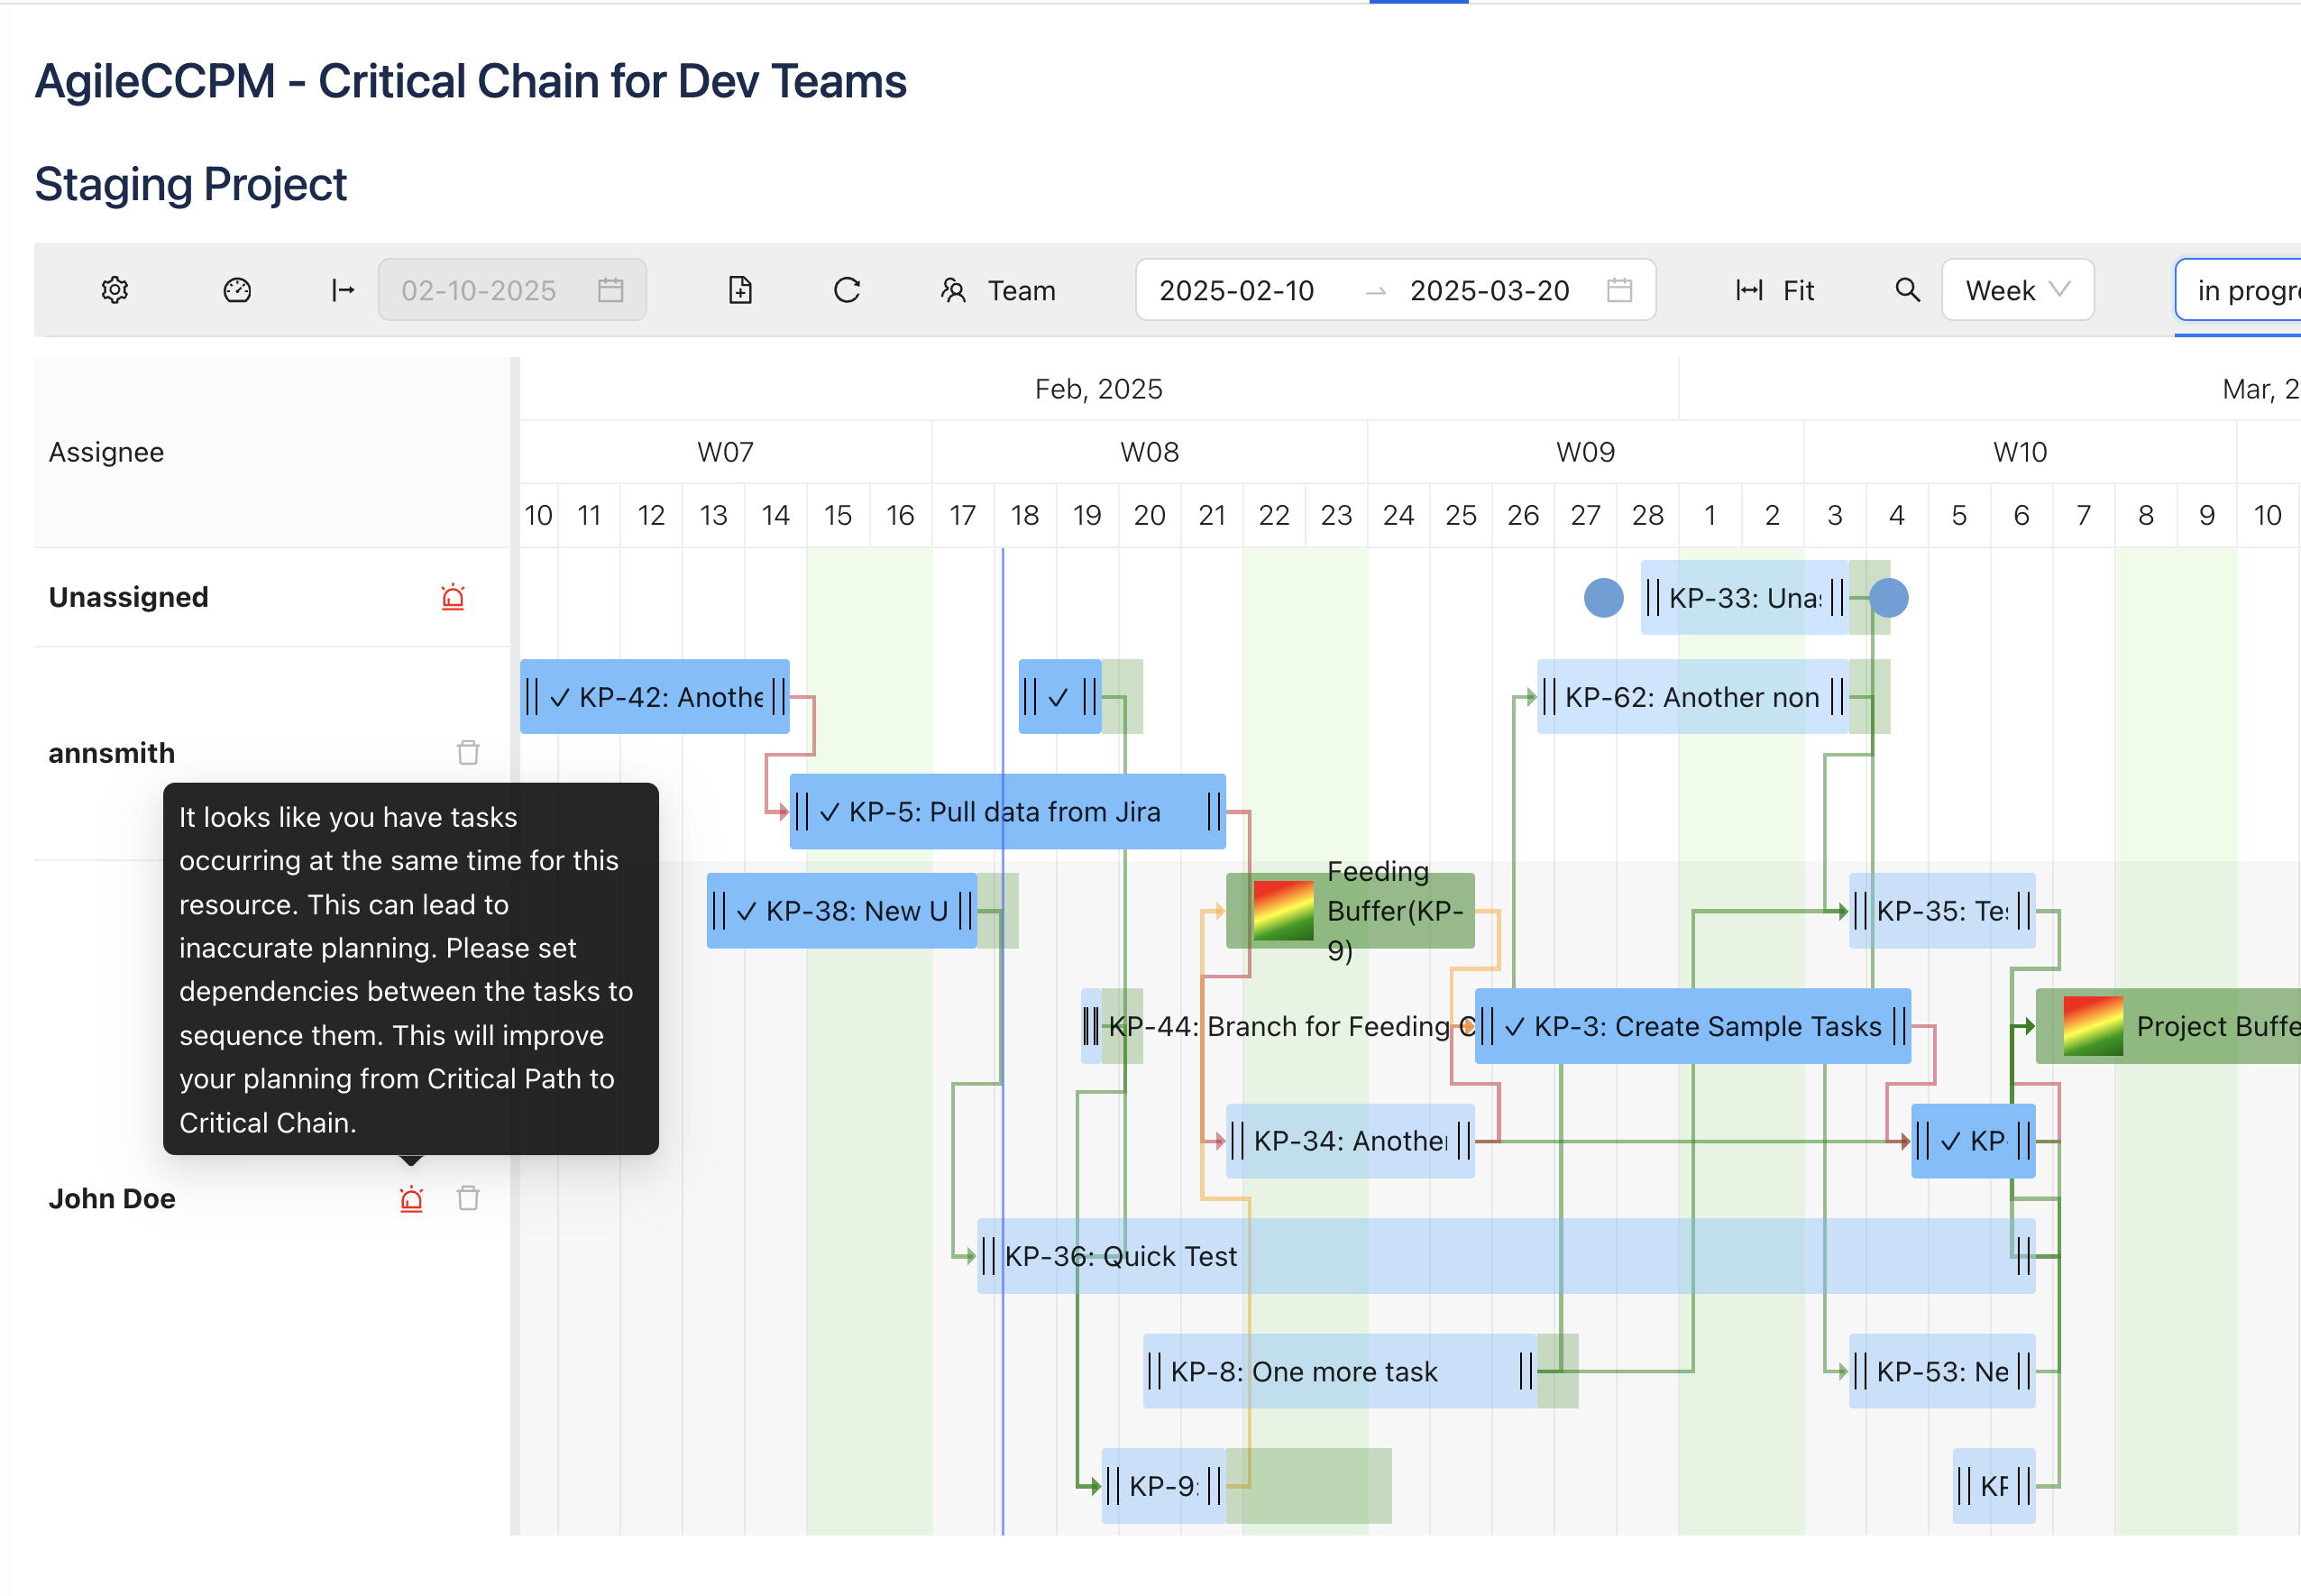
If you see this, create additional dependencies between the tasks of that resource to make sure the work is planned sequentially.
7. Milestone (Gateway) Buffers
Sometimes you need a better understanding of reliable (with buffer) dates for some internal Milestone or Gateway. This might be beneficial to communicate the dates with clients, vendors, other departemnts, etc.
Jira does not natively support functionality for milestones. To provide the capability we are using Jira's label functionality by reading and allowing our app to set the 'milestone' label.
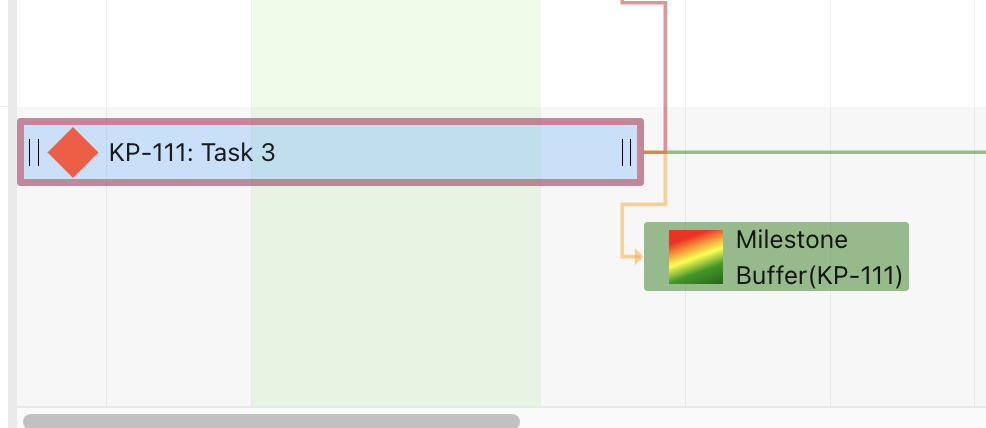
You can right-click a task or double-click it and you will be able to mark or unmark the work item as a Milestone, you can also do that directly in Jira by adding/removing the 'milestone' label.
When you do this, we add a red dimond icon to the work item and add the Milestone Buffer for such tasks.
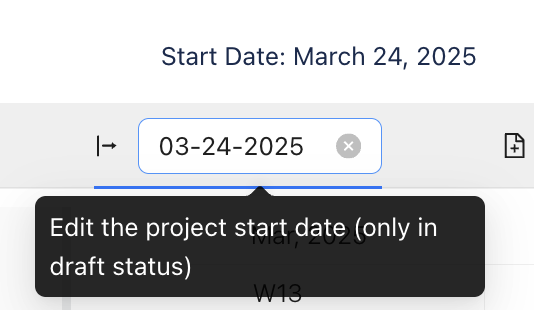
8. Adjusting the Start Date
When you have all previous steps done, you should have a well-planned Critical Chain project that protects both the project end-date and the Critical Chain from uncertainty.
While your project is still in Draft status, you can modify its start date.
Now learn how to move your Agile Critical Chain Project in Progress and Monitor its health